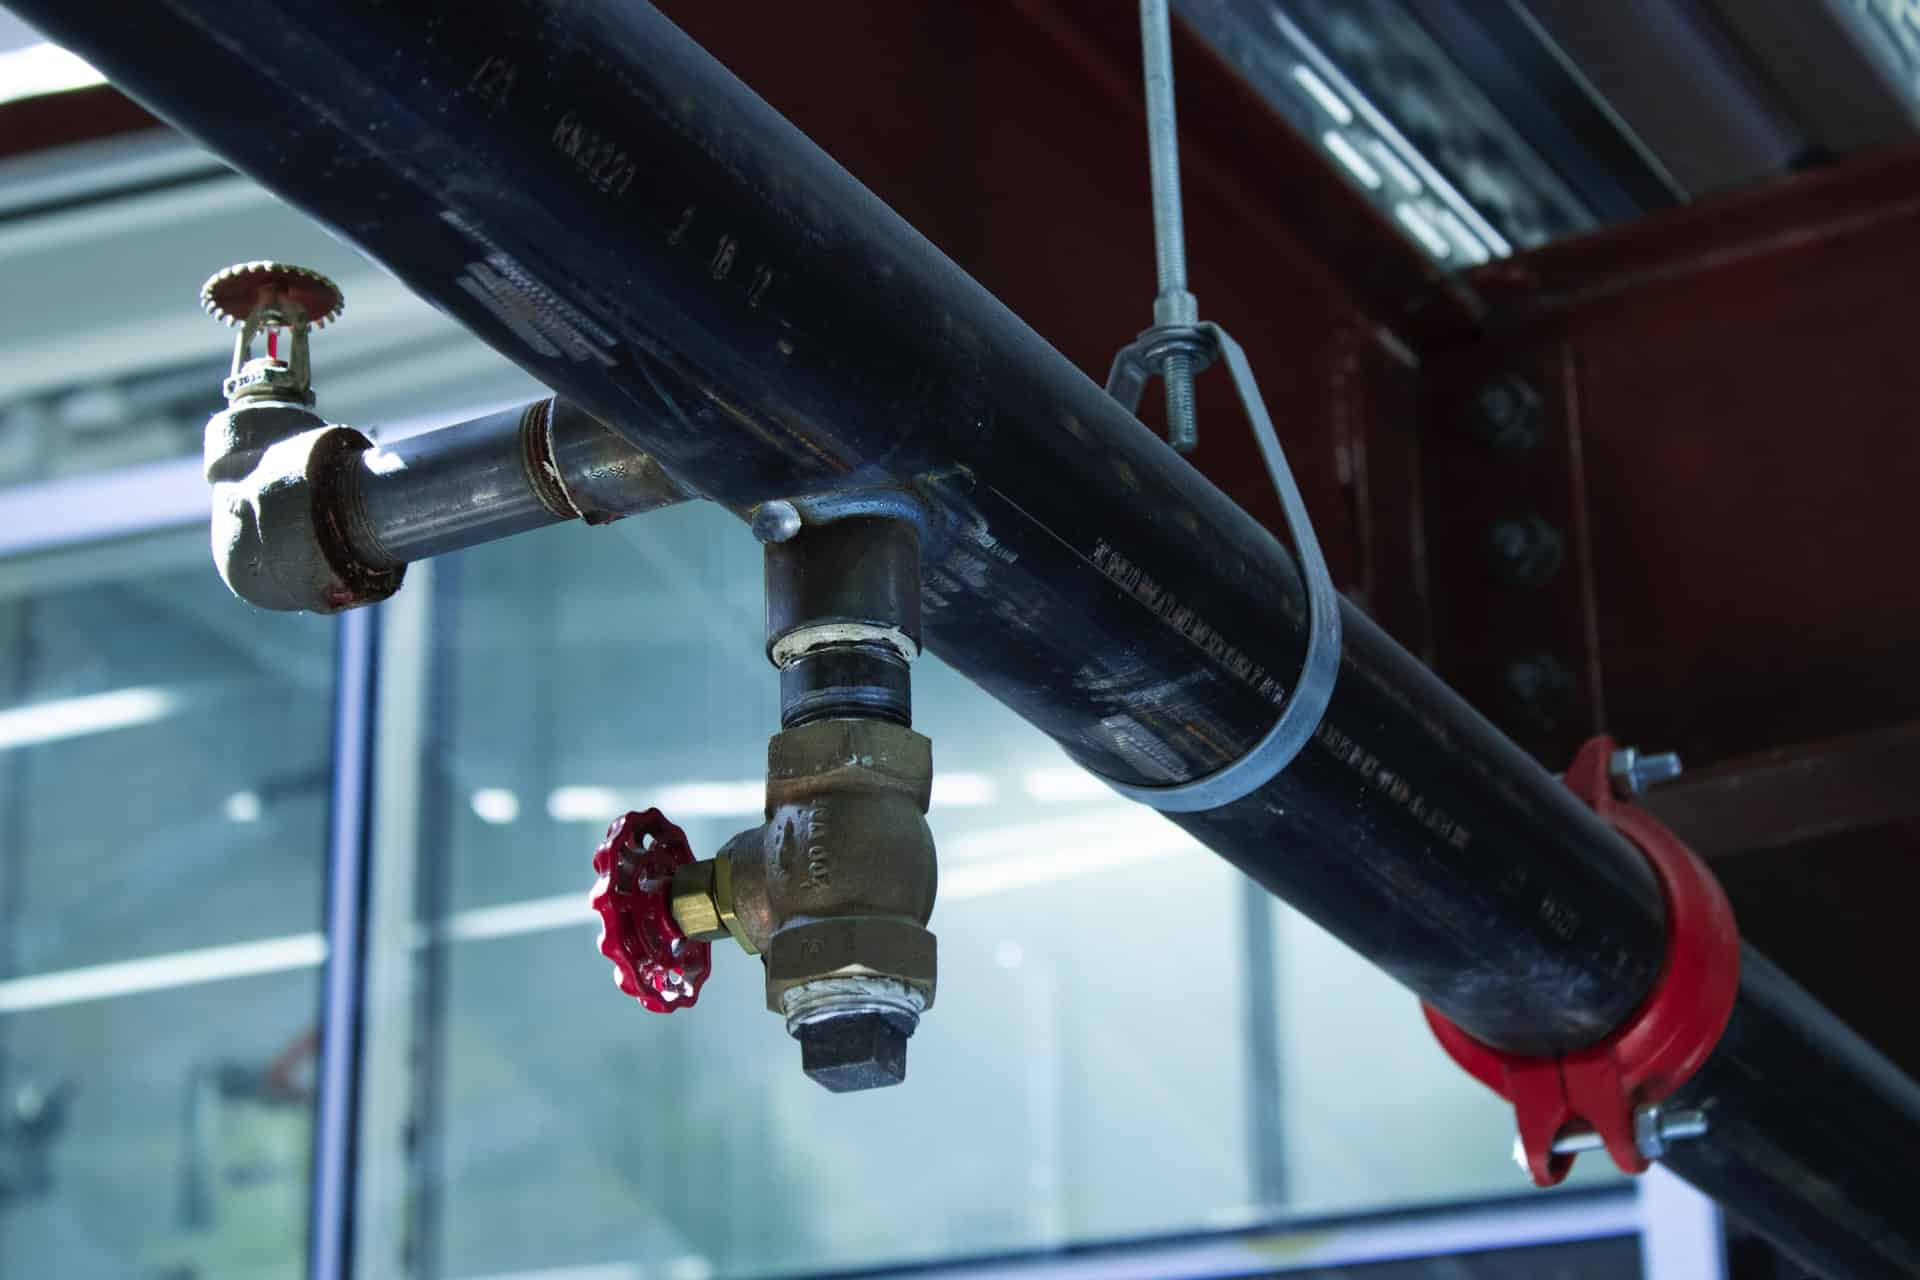
Your home’s gas lines are very fundamental in your daily life more than you think. Aside from its most known use of powering your stove to cook food, many homes also utilize natural gas to heat their homes and their water supply. Plenty use the gas to dry clothing that they might want to wear for warmth too during those cold seasons.
However, as reliable and helpful as your gas lines are, they are susceptible to a bit of damage. Gas leaks can be quite dangerous for the property and health of all the other occupants in the place. If you’re curious as to what gas leaks are, how you can detect them, and how they’re fixed by plumbing professionals, this guide is perfect for you.
What Is a Gas Leak?
A gas leak refers to any crack or exposed area in the gas lines, allowing the natural gas that travels through it for your utilities and appliances to seep out. Although that may come off self-explanatory, it doesn’t really communicate how dangerous a gas leak could be inside your own home.
The properties of natural gas consist primarily of methane and other non-hydrocarbon gases. This kind of mixture isn’t necessarily toxic, but it’s not the best for your health either, with most people reporting dizziness upon inhalation. Natural gas can also greatly rack up your bill and increase costs because it’s incredibly flammable and likely to damage the place.
How Do You Detect a Gas Leak?
Some homeowners may not be aware that they already have a leak, which isn’t very wise. Inspections should always be scheduled by a professional to ensure that your home’s gas line is always in good working order. If you suddenly suspect a gas leak in your home, here are several ways you can verify if that’s true or not.
1. Smell the Air.
Natural gas doesn’t usually have a smell, which doesn’t make it quite easy to spot. However, if you’re in luck, your natural gas supplier would have added a scent to the gas. Some would often compare it to sulfur, which can be harder to miss. Try to trail along the gas lines and be mindful of the smell to check for the gas leak.
2. Listen for Noises.
Again, natural gas is often silent. Since it’s exiting the gas lines from a very tight crack though, it’s likely to make a few sounds. Keep your ears open for any unusual whistling or hissing noises occurring by the gas lines. If you hear it in any other place, maybe you have more than one leak in your home.
3. Test the Stove.
A simple way to detect gas leaks is by checking the flames from the burner of your stovetop. Typically, the fire should be blue when you’re opening the stove. There’s no need to worry if your gas stove creates this kind of flame. However, if it’s more on the orange and red side, that’s an indication that your natural gas is mixing with oxygen.
4. Use Soap Water.
If the stove test doesn’t give you that much detail, another test that you can run is mixing soap and water together. Put that solution on the gas line and observe how the solution will react. If any bubbles start blowing, that means there is natural gas escaping the lines.
5. Get Detectors.
Well, to detect any gas leaks, the logical thing would be to get gas leak detectors. Though this is used more for precaution, it’s better late than never to get one. Have your pick between natural gas detectors, carbon monoxide alarms, and even more. Each one will be effective at picking up traces of methane gas and the like in the air.
How Are Gas Leaks Fixed?
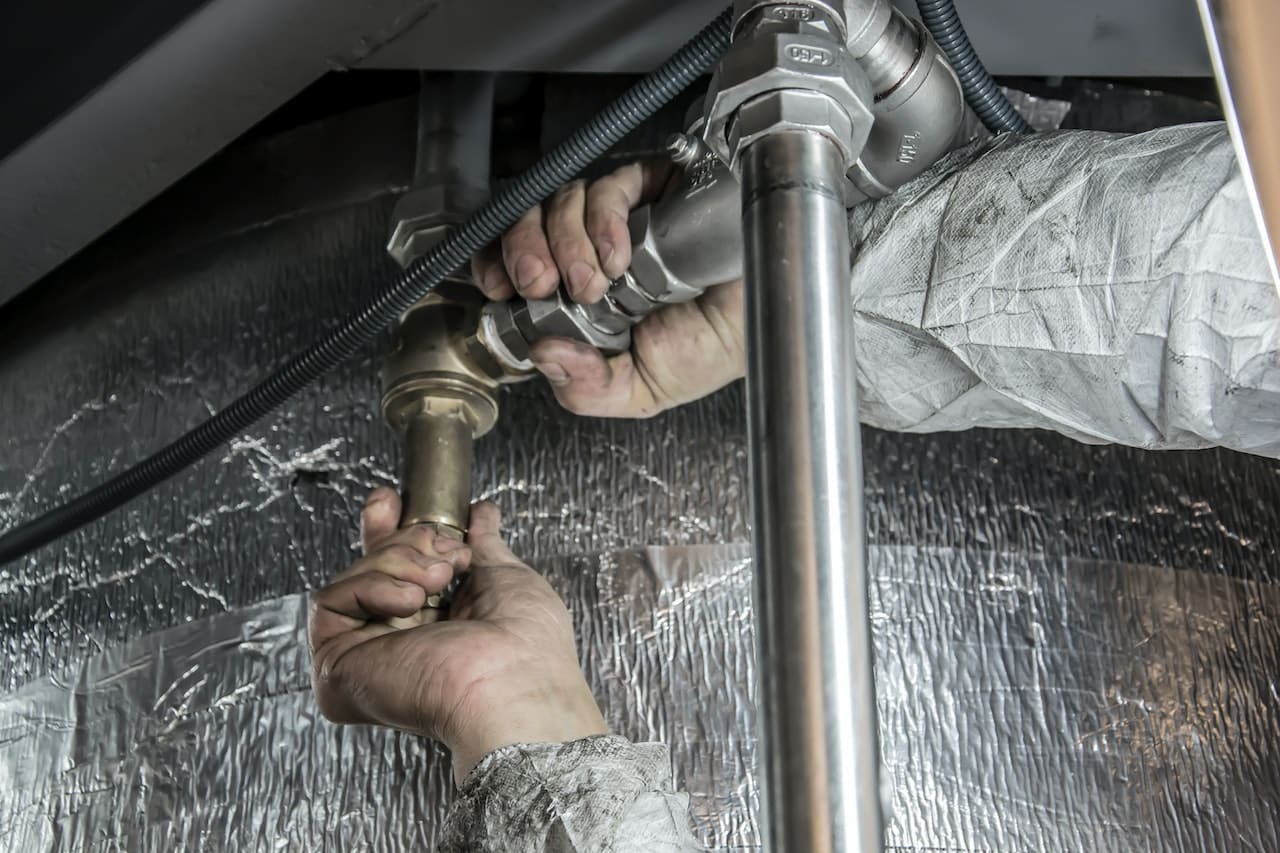
First off, it probably wouldn’t be too wise to DIY fix a gas leak. Many things can go wrong, from not having the right equipment to putting yourselves near the health hazard for a prolonged period without the right knowledge of fixing it. It’s better to hire a plumber who will be able to fix the gas line and remove the gas leak after.
1. Identify the Problem.
If you were able to detect the exact spot of the gas leak, that’s great! You can direct your plumber on where they need to focus. If you’re only aware that there is a gas leak without knowing the exact area, leave the problem to your plumber. They should be able to identify and pinpoint the leak quickly.
2. Close and Detach.
For your plumber to repair the leak, they’re probably going to have to close off the gas source first. It has to be completely turned off in order to make the repair much easier and safer for them. Expect the gas lines to be detached right after to be tended to properly and thoroughly.
3. Conduct Cleaning.
As the leak is being sealed up, your plumber will probably opt to conduct a bit of cleaning too. Residue from the natural gas can start to build up on the sides of the lines and cause future leaks, which is why it’s important to remove them. By having less gunk in the gas lines, the fewer the chances of another crack from forming.
4. Reattach the Line.
Once everything seems to be right and back intact, your plumber will assemble the gas line again by reattaching the part that they had previously removed and clean. Ensure that your plumber has a meticulous eye for checking and aligning everything together before affixing it against one another.
5. Reopen the Gas Lines.
Finally, once everything is attached to one another, it’s time to check if everything is working properly. Your plumber will have a test run and turn the gas back on. With luck, the leak should be all sealed up now as your gas line functions like the pathway that it’s supposed to.
Conclusion
It’s incredibly important to attend to gas leaks as soon as they’ve been found. Don’t waste a single second to ensure the safety of yourself, your loved ones, and your home. Be sure to get in touch with professionals that can fix your lines for you immediately.
Need help with a gas leak in San Fernando Valley? Candu Plumbing & Rooter is a professional plumbing service in the US, able to attend to your gas lines and other plumbing needs. Contact us today!

